

It is possible to use Google Pay on the web without our SDK. To learn how to integrate Google Pay we recommend following Google’s tutorial. The steps below will highlight any differences and specifics for our API.Documentation Index
Fetch the complete documentation index at: https://wpay-feat-edp-guide.mintlify.app/llms.txt
Use this file to discover all available pages before exploring further.
About this integration
Even without Embed, there is only minimal configuration required to get set up to process Google Pay. There is no need to sign up for a Google Developer account with this integration.Enable Google Pay
To enable Google Pay, head over to your dashboard and then go to Connections -> Catalog -> Google Pay. Next, fill in your merchant name and the domain name(s) where you want to use Google Pay.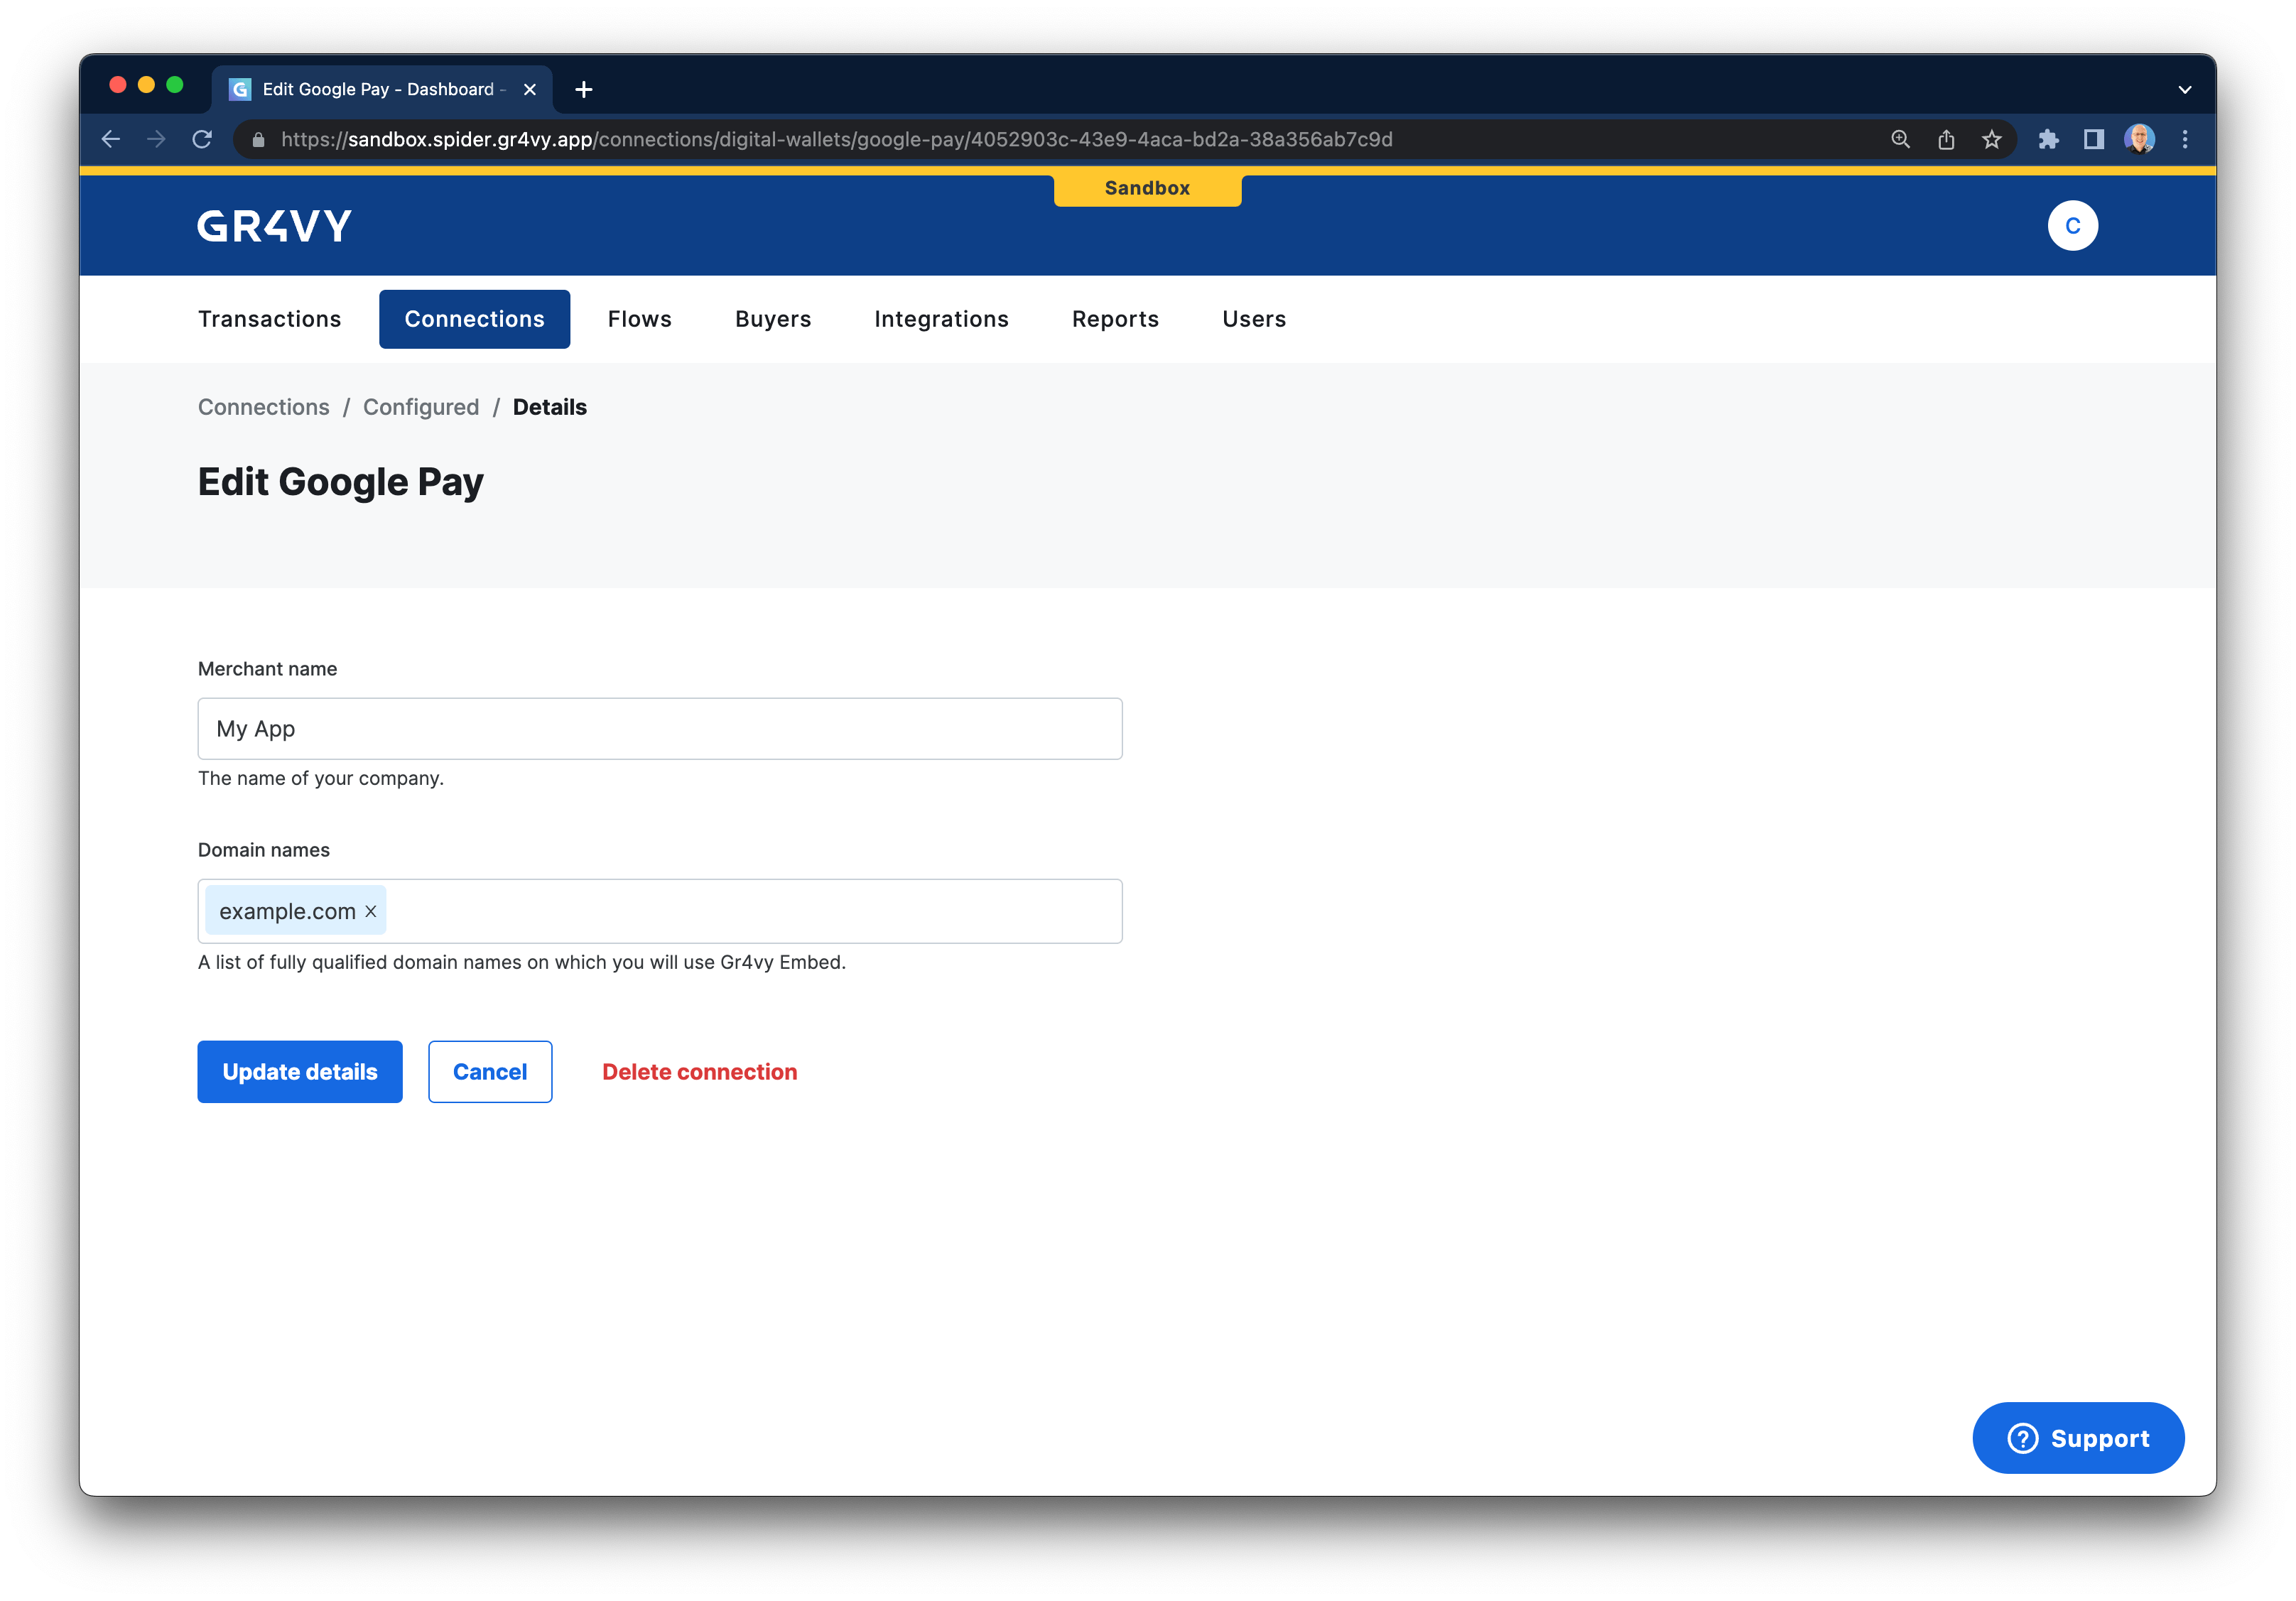
Integrate Google Pay
The following steps highlight the integration points with our system using Google’s tutorial for Google Pay.Set gateway and merchant ID
In step 2 of Google’s tutorial you are instructed to request a payment token for your provider. In our case, the value forgateway needs to be set to gr4vy, and the value of gatewayMerchantId needs
to be set to app.gr4vy.sandbox.[gr4vy_id].[merchant_account_id] for your sandbox environment, and
app.gr4vy.[gr4vy_id].[merchant_account_id] in production.
The Gr4vy ID is the unique identifier for your instance. Together with the environment
(sandbox or production) it is used to connect to the right APIs.The possible values for your ID are one of
wpay, wpay1, wpay2, or wpay3. We will inform you
in which instance your account has been set up.Create a transaction
In step 11 of Google’s tutorial, within theonPaymentAuthorized function
you will have a paymentData that needs to be sent to the gateway. You can send
this object to our POST /transactions endpoint either directly or via your server.
We strongly recommend always providing a
redirect_url, just in case any connection
is configured to use 3-D Secure.This URL will be appended with both a transaction ID
and status (e.g. https://example.com/callback?gr4vy_transaction_id=123 &gr4vy_transaction_status=capture_succeeded) after 3-D Secure has been completed.